Mastering the Dental Ultrasonic Cleaner Protocol: A Step-by-Step Guide for Optimal Oral Health
- Importance of using an ultrasonic cleaner in dentistry
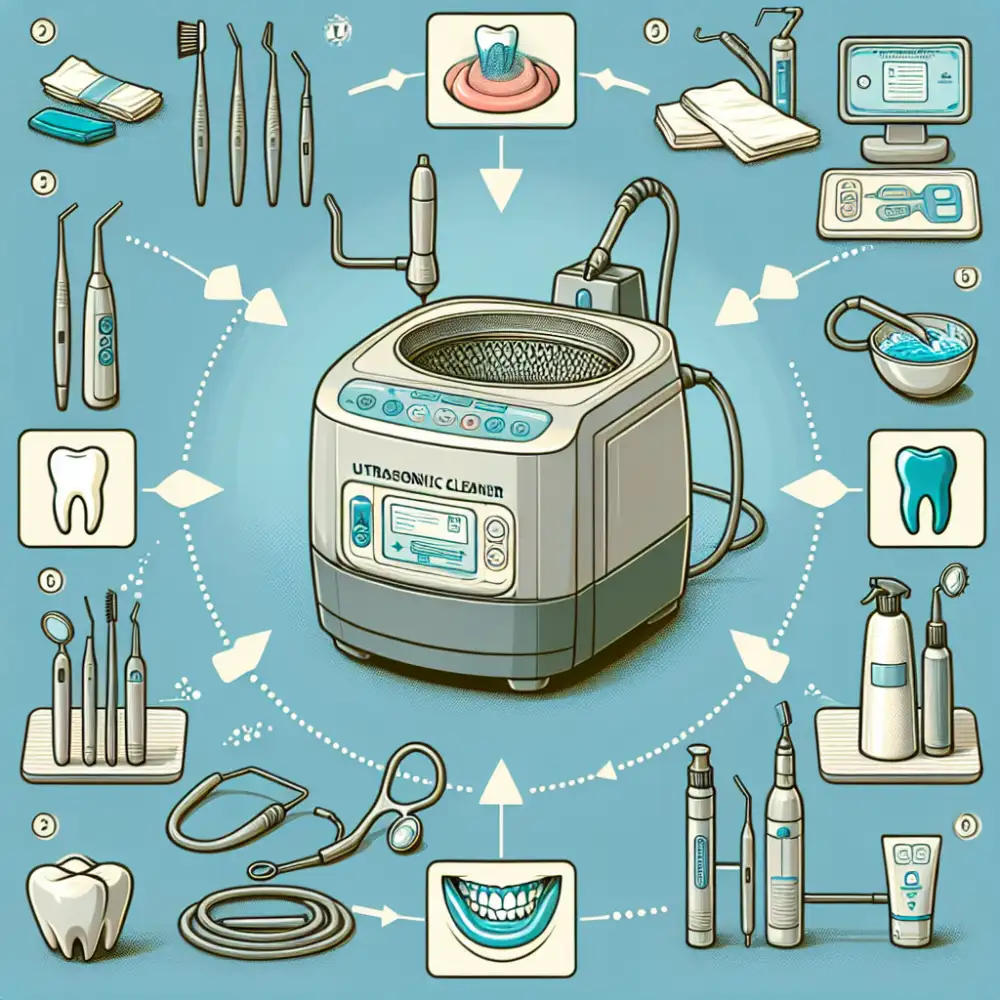
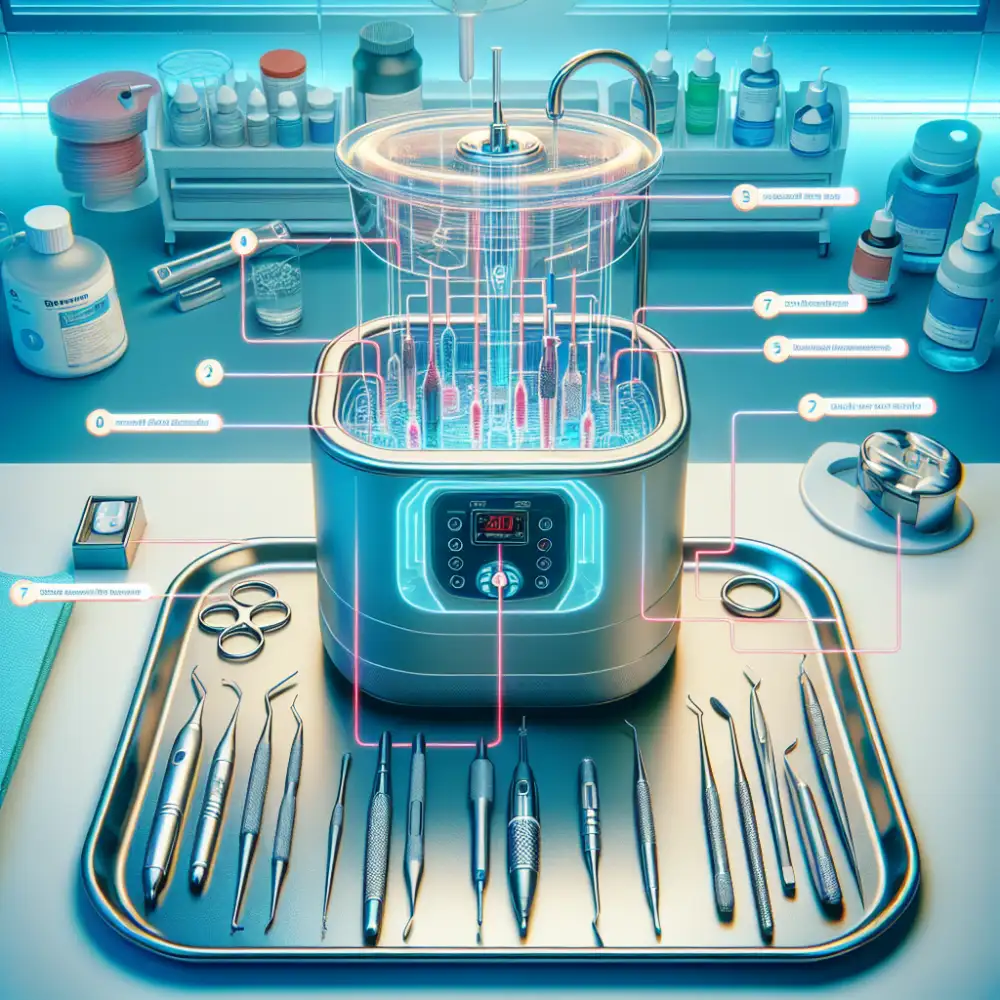
- Preparing the ultrasonic cleaner for use
- Proper handling and safety precautions while using the ultrasonic cleaner
- Step-by-step procedure for using the ultrasonic cleaner in dental practice
- Cleaning and maintenance of the ultrasonic cleaner
- Benefits of incorporating an ultrasonic cleaner in dental hygiene practices
The dental ultrasonic cleaner protocol is a crucial aspect of maintaining optimal oral health. This protocol involves the use of an ultrasonic cleaner, which is a device that utilizes high-frequency sound waves to remove debris and stains from dental instruments. The use of an ultrasonic cleaner has become standard practice in dentistry due to its effectiveness in removing bacteria, plaque, and other contaminants that can contribute to oral diseases. By incorporating this protocol into dental hygiene practices, professionals can ensure thorough cleaning and disinfection of instruments, ultimately enhancing patient safety and overall oral health.
Importance of using an ultrasonic cleaner in dentistry
The use of an ultrasonic cleaner in dentistry is of utmost importance for maintaining optimal oral health. Traditional methods of cleaning dental instruments often fall short in removing stubborn debris and bacteria, leading to potential cross-contamination and compromised patient safety. However, the ultrasonic cleaner's high-frequency vibrations create microscopic bubbles that implode upon contact with dental instruments, effectively dislodging even the tiniest particles from hard-to-reach areas. This thorough cleaning process ensures that instruments are free from contaminants, reducing the risk of infection and enhancing overall dental hygiene.
Preparing the ultrasonic cleaner for use
Preparing the ultrasonic cleaner for use is an essential step to ensure optimal performance and effective cleaning. Start by carefully reading the manufacturer's instructions for your specific model. Before each use, inspect the cleaner for any damage or signs of wear. Next, ensure that the water tank is clean and free from debris. Fill the tank with an appropriate cleaning solution, following the recommended dilution ratio. It is important to use a solution that is specifically designed for ultrasonic cleaners to avoid damaging the equipment or compromising safety. Finally, plug in the cleaner and turn it on to allow it to warm up and reach the desired temperature before placing any items inside. By properly preparing the ultrasonic cleaner, you can maximize its efficiency and achieve superior results in dental hygiene practices.
Proper handling and safety precautions while using the ultrasonic cleaner
Proper handling and safety precautions are essential when using an ultrasonic cleaner in dental practice. Here are some important guidelines to follow:
1. Personal Protective Equipment (PPE): Always wear appropriate PPE, including gloves, goggles, and a lab coat, to protect yourself from potential hazards such as chemicals or flying debris.
2. Read the Instructions: Familiarize yourself with the manufacturer's instructions for operating the ultrasonic cleaner. This will ensure that you understand its specific features and limitations.
3. Use the Right Solution: Only use approved cleaning solutions specifically designed for ultrasonic cleaners. Avoid using harsh chemicals that can damage the equipment or pose a risk to patients.
4. Proper Loading: Place instruments or dental items securely in the cleaning basket, ensuring they are not overcrowded. This allows for effective cleaning and prevents damage to both the items and the cleaner.
5. Time and Temperature: Set the appropriate time and temperature settings recommended by the manufacturer for optimal cleaning results. Avoid overheating, as it can cause damage to delicate instruments.
6. Ventilation: Ensure that there is proper ventilation in the area where you are using the ultrasonic cleaner to prevent exposure to fumes or vapors from cleaning solutions.
7. Noise Protection: Ultrasonic cleaners produce high-frequency sound waves that can be loud. Consider wearing ear protection if necessary, especially during prolonged use.
8. Electrical Safety: Always plug the ultrasonic cleaner into a grounded outlet and avoid using extension cords or power strips to prevent electrical hazards.
9. Never Leave Unattended: Do not leave the ultrasonic cleaner unattended while it is in operation to minimize any potential risks or accidents.
By following these safety precautions, you can ensure a safe working environment while utilizing an ultrasonic cleaner in your dental practice.
A meticulously followed ultrasonic cleaning protocol, encompassing proper solution usage, cycle duration, and instrument arrangement, is paramount in ensuring optimal instrument hygiene and mitigating cross-contamination risks within the dental practice.
Eamon Lancaster
Step-by-step procedure for using the ultrasonic cleaner in dental practice
1. Begin by filling the ultrasonic cleaner's tank with an appropriate cleaning solution. Follow the manufacturer's instructions regarding the recommended dilution ratio.
2. Ensure that all instruments to be cleaned are free of debris and placed in a suitable instrument tray or basket. Avoid overcrowding to allow for effective cleaning.
3. Carefully lower the instrument tray into the filled tank, ensuring that all instruments are fully submerged in the cleaning solution.
4. Set the desired cleaning time and temperature on the ultrasonic cleaner according to the manufacturer's guidelines. Typically, a cleaning cycle lasts between 5 to 10 minutes.
5. Activate the ultrasonic cleaner and allow it to run for the designated cleaning time. The high-frequency vibrations produced by the transducers will create tiny bubbles that implode, effectively removing debris from instruments.
6. After completion of the cleaning cycle, carefully remove the instrument tray from the tank using gloves or appropriate tools to prevent injury.
7. Rinse each instrument thoroughly with clean water to remove any residual cleaning solution or debris dislodged during ultrasonic cleaning.
8. Inspect each instrument for cleanliness and functionality before sterilization or further use in dental procedures.
9. Empty and clean the ultrasonic cleaner tank after each use, following proper disinfection protocols recommended by regulatory bodies or manufacturers.
Following these steps will ensure optimal results when using an ultrasonic cleaner in dental practice, promoting improved oral health outcomes for patients while maintaining a safe and hygienic environment in dental clinics.
Cleaning and maintenance of the ultrasonic cleaner
Cleaning and maintenance of the ultrasonic cleaner is essential to ensure its optimal performance and longevity. After each use, it is important to drain and clean the tank thoroughly. This can be done by removing any debris or residue using a soft brush and a mild detergent solution. Avoid using abrasive materials that may scratch the tank surface.
Regularly inspect the transducers for any signs of damage or wear. If there are any cracks or loose connections, it is crucial to have them repaired or replaced by a qualified technician. Additionally, check the water level and replenish if necessary to maintain proper functioning.
To prevent the buildup of mineral deposits, it is recommended to use distilled water in the ultrasonic cleaner. This helps avoid potential damage caused by hard water minerals. Periodically, descale the tank using a descaling solution specifically designed for ultrasonic cleaners.
Lastly, store the ultrasonic cleaner in a clean and dry environment when not in use. This helps prevent dust accumulation and ensures that it remains in good condition for future use.
By following these cleaning and maintenance practices, dental professionals can maximize the lifespan of their ultrasonic cleaner while ensuring its effectiveness in providing optimal oral health care.
Benefits of incorporating an ultrasonic cleaner in dental hygiene practices
An ultrasonic cleaner is essential for dental hygiene practices, offering thorough removal of plaque, tartar, and debris from instruments. The high-frequency vibrations create tiny bubbles that dislodge even stubborn deposits, ensuring a level of clean unattainable through manual methods. This not only improves cleaning efficiency but also significantly reduces the risk of cross-contamination, creating a safer environment for both patients and staff.
Time-Saving and Cost-Effective
Compared to manual cleaning, ultrasonic cleaning significantly reduces the time required for instrument preparation. This efficiency allows dental professionals to attend to more patients, improving overall productivity and profitability. Moreover, the preservation of instrument longevity through effective debris removal minimizes wear and tear, reducing the need for frequent replacements and lowering overall costs.
Improved Patient Experience and Outcomes
Clean instruments are fundamental to a positive patient experience. The use of an ultrasonic cleaner ensures optimal cleanliness, leading to increased patient satisfaction and trust. Furthermore, the thorough cleaning achieved through ultrasonic technology contributes to better oral health outcomes by preventing gum disease and tooth decay, ultimately enhancing the quality of care provided.
Conclusion
The integration of an ultrasonic cleaner into dental hygiene practices presents a multitude of benefits. From enhanced cleaning efficiency and infection control to time savings and improved patient outcomes, this technology is invaluable for modern dental care. By embracing the use of ultrasonic cleaners and adhering to proper protocols, dental professionals can ensure a safer, more efficient, and ultimately more successful practice.
Published: 18. 02. 2024
Category: Health